tiling
Bathroom Wall Tile Height: Half Wall, Shower Height or Full Height?
Choose bathroom tile height by splash exposure, room design and budget. Compare wall quantities, box rounding and partial versus full-height costs.
At a glance
In this guide7 sections
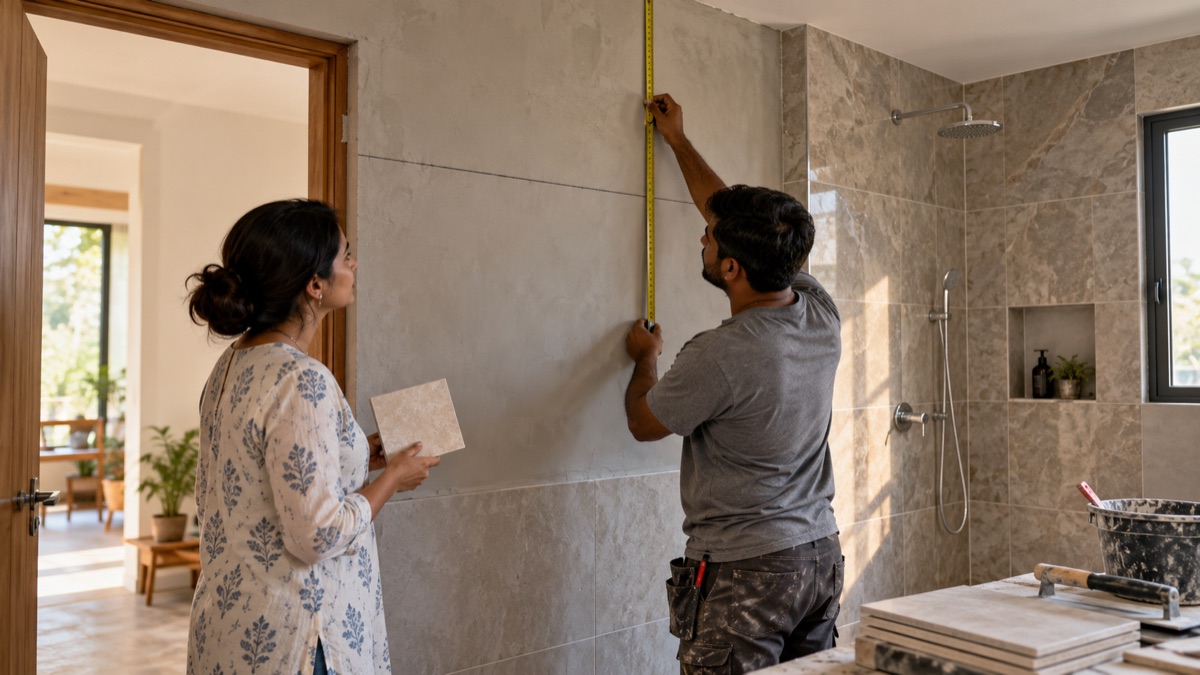
The tile sample looks lovely on the shop counter. Back in the bathroom, a more difficult question appears: where should it stop? At the basin? Above the mirror? At the top of the door? Or should the same surface continue all the way to the ceiling?
There is no single tile height that suits every bathroom. Lower tiling can work on suitable dry walls, while shower walls need a finish and waterproofing arrangement appropriate to their water exposure. Full-height tiling makes the finished surfaces continuous and can simplify cleaning, but it adds area, installation work and often more cutting. The right comparison is wall by wall, with the shower treated as its own decision.
For a 6 × 8 ft bathroom with a 9 ft ceiling and one 3 × 7 ft door, raising all the wall tiling from 7 ft to 9 ft adds 56 sq ft before wastage. That is a useful quantity to take to a tiler. Whether 7 ft is an appropriate stopping point in your shower is a separate question that depends on the actual shower, substrate, local requirements and chosen system.
Start with where the water goes
Stand where someone will shower. Picture the shower head, the handheld spray, the person using it and the nearby corners. Then look at the basin, the window and the wall behind the toilet. Those surfaces may be in the same room, but they do not all see the same amount of water.
This is why the phrase “half-tiled bathroom” needs a little unpacking. It might mean a low tiled band on the dry walls with a fully protected shower enclosure. It might also mean every wall stops at the same low line, including walls regularly soaked by the shower. The drawings should make that difference visible before anyone orders boxes.
Tile and grout do not, by themselves, define a waterproof assembly. Schluter's explanation of tiled shower waterproofing describes why moisture management belongs behind the finished surface as well. That principle is useful internationally; the actual membrane, substrate, junctions and installation details should follow the locally suitable system specification.
A wall can therefore have two different lines on the drawing: the visible tile termination and the required waterproofing extent. Do not assume they are interchangeable. Ask the installer to identify corners, pipe penetrations, floor-to-wall junctions and any niche details before those places disappear beneath the finish.
Three ways a bathroom can feel finished
Lower tiles on dry walls
A lower band can give a small room a lighter appearance and leave room for a painted upper wall. It can also make a deliberate connection with the basin, sill or joinery. The saving depends on what replaces the omitted tiles: upper-wall preparation and a suitable paint system still cost money.
The termination needs a tidy detail. A raw cut edge, a ledge that gathers water or a line that meets the mirror awkwardly can make an otherwise careful installation feel unfinished. Before settling on a height, mark it on the wall with removable tape and view it from the doorway.
Higher tiling around the shower, lower elsewhere
This lets water exposure lead the layout. The shower walls receive their specified treatment; other walls can stop at a lower height if suitable. It often gives a good balance between a painted room and a fully tiled one, but the changes in height need planning. Decide which corner carries the transition and how the exposed tile edges will finish.
Full-height tiles throughout
Full-height tiling removes the painted strip above the tiles and can make a compact bathroom look more continuous. It does not guarantee a trouble-free bathroom: ventilation, joints, detailing and waterproofing still matter. It also means the tile layout has to meet the ceiling, whose level may not be as straight as it looks from the floor.
Large tiles can make narrow top cuts especially noticeable. Ask the tiler to draw the first and last course before agreeing to a starting level. A small adjustment to the layout may be more valuable than a more expensive tile.
Measure the same room three ways
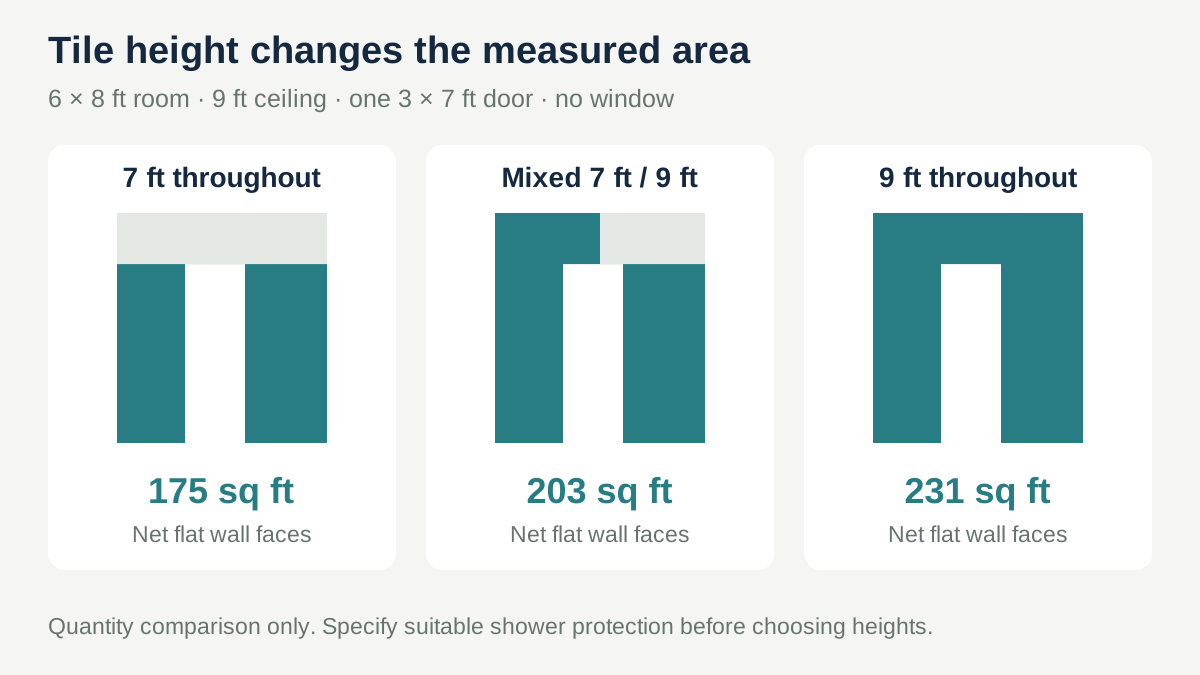
Let us return to the 6 × 8 ft bathroom. Its perimeter is 2 × (6 + 8) = 28 ft. There is one 3 × 7 ft door, no window and no niche in this simplified example. We count the flat wall faces only; reveals, shelves and returns would be added separately.
At a uniform 7 ft tile height, the calculation is 28 × 7 − 3 × 7 = 175 sq ft.
At the full 9 ft height, it becomes 28 × 9 − 3 × 7 = 231 sq ft. Notice that the door deduction is still 21 sq ft. The door has not become taller just because the tiles have.
For a mixed-height comparison, suppose the shower occupies two adjoining walls measuring 6 ft and 8 ft, tiled to 9 ft. The remaining two walls stop at 7 ft, with the door on one of those lower walls:
Shower walls: (6 + 8) × 9 = 126 sq ft
Other walls: (6 + 8) × 7 − 21 = 77 sq ft
Combined area: 126 + 77 = 203 sq ft
| Measurement option | Net flat wall area | Extra compared with 7 ft throughout |
|---|---|---|
| All walls to 7 ft | 175 sq ft | — |
| Two shower walls to 9 ft, others to 7 ft | 203 sq ft | 28 sq ft |
| All walls to 9 ft | 231 sq ft | 56 sq ft |
These are quantity scenarios, not three interchangeable shower specifications. Establish the required wet-area treatment first, then compare the permissible finishes around it.
Why an extra 56 sq ft does not always mean exactly 56 sq ft purchased
Tiles arrive in boxes. Cut pieces do not always fit somewhere else. Pattern direction, niches and the starting course influence how much of each tile is usable.
Assume, for this example, 1 × 2 ft tiles, six tiles per box and a 10% planning allowance. Each tile covers 2 sq ft and each box contains 12 sq ft. The 10% is an example input, not a fixed rule for every pattern.
| Option | Area with 10% allowance | Whole tiles needed | Whole boxes | Purchased area |
|---|---|---|---|---|
| 7 ft throughout | 192.5 sq ft | 97 | 17 | 204 sq ft |
| Mixed height | 223.3 sq ft | 112 | 19 | 228 sq ft |
| 9 ft throughout | 254.1 sq ft | 128 | 22 | 264 sq ft |
For the full-height option, 231 × 1.10 ÷ 2 = 127.05 tiles, rounded up to 128. Then 128 ÷ 6 = 21.33 boxes, rounded up to 22. The purchased quantity is 132 tiles, because that is what 22 complete boxes contain.
Keep any deliberate future spare stock visible in the order. Do not casually add another 10% after box rounding unless you actually want that extra material. Our bathroom wall tile quantity guide explores opening deductions and measurement in more detail.
A cost comparison with the assumptions left on the page
Suppose the chosen tile costs ₹600 per box and the example installation labour rate is ₹35 per measured sq ft. These are illustrative Indian rupee inputs, not surveyed market prices.
| Option | Tile boxes | Tile purchase | Installation labour | Tile-and-labour subtotal |
|---|---|---|---|---|
| 7 ft throughout | 17 | ₹10,200 | ₹6,125 | ₹16,325 |
| Mixed height | 19 | ₹11,400 | ₹7,105 | ₹18,505 |
| 9 ft throughout | 22 | ₹13,200 | ₹8,085 | ₹21,285 |
Here, full-height tiling adds ₹4,960 to the tile-and-labour subtotal compared with 7 ft throughout. It is not yet the complete project difference. Adhesive, grout, edge trims, substrate repair, waterproofing, access and any additional cutting charges must be priced. The partial-height options also need their upper painted surfaces finished.
This is the moment to ask what “labour included” means. Does it include cutting around taps, finishing exposed edges, fitting a niche and protecting the floor? Is labour charged on installed area, or does the contractor use another measurement convention? A written scope makes the quotes comparable.
Fit the tile layout around the room you have
The best stopping line often emerges from the actual wall. A window sill might already provide a clean horizontal reference. A mirror might need a consistent background. A pipe box may add a face that was absent from the original floor plan. Measure these before making the purchase calculation final.
An existing bathroom adds another complication: the surface underneath. Removing old tiles can reveal loose plaster or uneven masonry. Full-height tiles will not make a weak substrate sound. Have that work assessed and priced before the attractive per-square-foot installation rate takes over the conversation.
Waterproofing should also be inspected at the right stage. UltraTech's bathroom waterproofing guide discusses surface preparation and testing before finishes conceal the work. Agree on the appropriate test and acceptance procedure for your chosen system with the installer.
Turn the decision into an order
Once the heights are agreed, record each wall's width, tile height and openings. Use the bathroom tile calculator for the measured surfaces and the tile box calculator to check packaging. If walls have different heights, keep those differences in the measurements rather than averaging them into one unexplained number.
For the full installation budget, continue with the tile installation cost guide. For a wider renovation, the bathroom renovation guide helps separate tiling from plumbing, fixtures and other work.
By the time the first tile is fixed, the important choices should already be visible on a simple wall sketch: where water reaches, where each finish stops, how the edges meet and how many boxes the layout needs. Then the tile sample on the shop counter has become something more useful—a bathroom that has been thought through.